
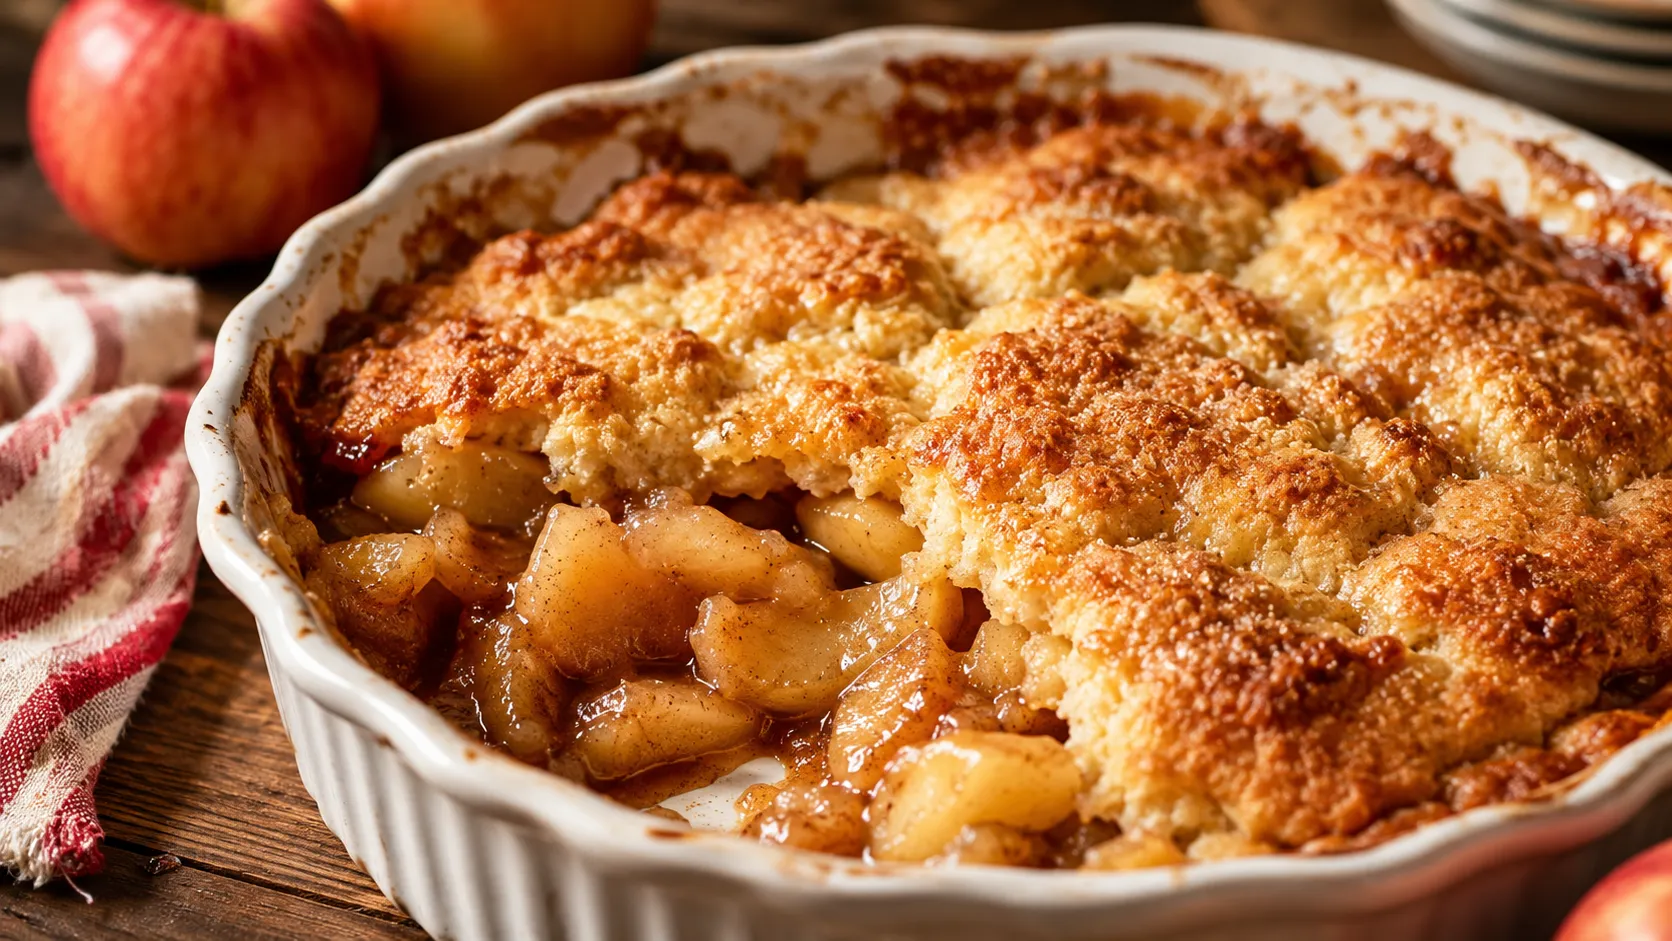
Old-Fashioned Apple Cobbler with Buttery Topping
My grandmother made apple cobbler in a cast iron skillet that was older than my mom. It lived on her stove permanently, like it had squatter’s rights, and every fall she’d fill it with apples from the tree in her backyard that never produced anything pretty but always produced something delicious.
I didn’t inherit that exact skillet, but I inherited the recipe, and honestly, that’s the part that mattered. The first time I made it on my own, I used apples that were way too sweet, skipped the lemon juice because I didn’t think it mattered, and ended up with a filling that tasted flat and one-note. Lesson learned. Now I don’t skip a single step, and this cobbler tastes like her kitchen every single time.
Old-fashioned apple cobbler with buttery topping is the kind of dessert that doesn’t need to be fancy to be unforgettable. It’s warm, spiced apples bubbling under a golden, slightly crisp topping that’s part biscuit, part cake, and entirely the reason people go back for seconds.
Why You’ll Love This Recipe
- One dish, minimal cleanup — this isn’t a multi-bowl, multi-pan situation. Simple ingredients, simple process.
- No pie crust skills required — if pie dough intimidates you, cobbler is your answer. The topping is forgiving and hard to mess up.
- Uses ingredients you probably already have — apples, flour, sugar, butter. Nothing exotic.
- Smells like fall the second it hits the oven — cinnamon and baked apples are basically a mood.
- Great warm, great cold, great the next morning with coffee — I will not elaborate further; I just need you to trust me on this one.

Ingredients You’ll Need
For the Apple Filling
- 6 cups apples, peeled, cored, and sliced (about 6-7 medium apples — I like a mix of Granny Smith and Honeycrisp for balance)
- 3/4 cup granulated sugar
- 2 tablespoons all-purpose flour
- 1 tablespoon lemon juice
- 1 teaspoon ground cinnamon
- 1/4 teaspoon ground nutmeg
- Pinch of salt
For the Buttery Topping
- 1 cup all-purpose flour
- 1/2 cup granulated sugar
- 1 1/2 teaspoons baking powder
- 1/4 teaspoon salt
- 1/2 cup unsalted butter, melted
- 1/2 cup milk
- 1 teaspoon vanilla extract
For Finishing
- 2 tablespoons granulated sugar, for sprinkling on top before baking
- Optional: a scoop of vanilla ice cream, for serving (highly recommended, not optional in my house)
Substitution note: No fresh apples on hand? Canned apple pie filling can work in a pinch, though you’ll want to reduce the added sugar since it’s already sweetened. If you’re dairy-free, swap the butter for a plant-based stick butter and the milk for oat or almond milk — the topping still turns out great.
Step-by-Step Instructions
- Preheat the oven and prep your dish (5 minutes). Preheat your oven to 350°F (175°C). Grease a 9×13-inch baking dish or a 10-inch cast iron skillet if you have one — the cast iron gives you those slightly crispy edges that I genuinely fight my family over.
- Make the apple filling (10 minutes). In a large bowl, toss your sliced apples with the sugar, flour, lemon juice, cinnamon, nutmeg, and salt until every slice is coated. Let this sit for about 10 minutes while you make the topping — the apples will start releasing their juices, which is exactly what you want.
- Spread the apples in the dish (2 minutes). Pour the apple mixture into your prepared baking dish and spread it into an even layer. Don’t worry about making it perfect. Rustic is the whole point here.
- Make the topping batter (5 minutes): In a separate bowl, whisk together the flour, sugar, baking powder, and salt. In a small bowl, mix the melted butter, milk, and vanilla together, then pour this into the dry ingredients. Stir just until combined — the batter should be thick but pourable, similar to a thick pancake batter. Don’t overmix, or your topping turns tough instead of tender.
- Top the apples (3 minutes). Pour or spoon the batter evenly over the apples. It won’t cover every inch, and that’s exactly right — as it bakes, the batter spreads, and the apples bubble up around it, which is what gives cobbler its signature messy-beautiful look. Sprinkle the extra 2 tablespoons of sugar over the top for a little crunch.
- Bake (40-45 minutes). Bake until the topping is golden brown and a toothpick inserted into the topping comes out clean, and you can see the apple filling bubbling around the edges. This usually takes 40-45 minutes in my oven. If the top starts browning too fast, loosely tent it with foil for the last 10 minutes.
- Cool slightly before serving (10-15 minutes). I know it’s tempting to dive in immediately, but give it at least 10-15 minutes to cool. The filling needs a few minutes to settle, or you’ll end up with soupy cobbler on your plate instead of a nice, jammy filling.
Pro Tips & Tricks
- Don’t skip the lemon juice. I learned this the hard way — it balances the sweetness and keeps the filling from tasting flat. A tablespoon is all you need.
- Use a mix of apple varieties. All sweet apples make a one-note filling. All tart apples can be overwhelming. A 50/50 mix of something firm and tart (Granny Smith) with something sweet (Honeycrisp or Gala) gives you the best flavor and texture.
- Let the apples sit before baking. Those extra 10 minutes while the apples macerate with the sugar make a real difference in how juicy and flavorful the filling turns out.
- Storage: Cover and refrigerate leftovers for up to 4 days. It reheats beautifully in the oven at 300°F for about 15 minutes, or in the microwave if you’re not in a fussy mood.
- Make-ahead tip: You can prep the apple filling a day ahead and store it covered in the fridge. Just make the topping fresh right before baking, so it stays light and fluffy.
Variations & Substitutions
If you want a gluten-free version, swap the all-purpose flour in both the filling and topping for a 1:1 gluten-free baking blend. I’ve made it this way for a friend with celiac disease and honestly couldn’t tell much of a difference in texture.
For a spiced-up version, add a pinch of ground ginger and a few gratings of fresh nutmeg to the filling, or stir a tablespoon of bourbon into the apple mixture for a warm, boozy depth that’s incredible on a cold night.
Craving something a little different? Try a berry-apple combo — swap one cup of the apples for fresh blackberries or cranberries. It adds a nice tartness and a gorgeous color against the golden topping.
Serving Suggestions
This cobbler practically begs for a scoop of vanilla ice cream melting into the warm apples — it’s the classic pairing for a reason. A drizzle of caramel sauce or a dollop of whipped cream works beautifully too if you want to dress it up a little more.
It’s a natural fit for Thanksgiving, Sunday family dinners, or just a cozy night in when you want your whole house to smell like a bakery. I’ve also brought it to potlucks in the cast iron skillet it baked in, and it always disappears before anything else on the table.
FAQs
Can I make apple cobbler ahead of time?
Yes. You can prep the apple filling up to a day ahead and refrigerate it. For best texture, make the buttery topping fresh right before baking rather than storing it mixed and waiting.
How do I store and reheat leftover cobbler?
Store covered in the refrigerator for up to 4 days. Reheat individual portions in the microwave for about 30-45 seconds, or reheat the whole dish in a 300°F oven for 15 minutes to bring back some crispness to the topping.
Can I freeze apple cobbler?
Yes, though the topping softens a bit after freezing. Cool completely, then freeze in an airtight container for up to 3 months. Thaw overnight in the fridge and reheat in the oven before serving.
What apples work best for cobbler?
A mix of tart and sweet apples gives the best flavor — Granny Smith for tartness and structure, paired with Honeycrisp or Gala for natural sweetness. Avoid apples that turn mushy when baked, like Red Delicious.
Why is my cobbler topping soggy instead of crisp?
This usually happens if the dish is pulled too early or the apples release too much liquid. Make sure to bake until the topping is fully golden and a toothpick comes out clean, and don’t skip the flour in the apple filling — it helps thicken the juices as they bake.
Can I use a different pan if I don’t have a cast iron skillet?
Absolutely. A 9×13-inch baking dish works perfectly well. The cast iron just gives slightly crispier edges, but it’s not a requirement for a great cobbler.
Read More Recipes:
- Easy Caramel Apple Cheesecake Bars
- Moist Apple Fritter Bread with Cinnamon Glaze
- Easy Chinese Garlic Noodles in 15 Minutes
- Healthy Cashew Chicken Stir-Fry Recipe
- Homemade Beef Lo Mein Noodles Recipe
Final Thoughts
There’s a reason recipes like this stick around for generations — they’re simple, they’re forgiving, and they taste like home no matter whose kitchen you’re standing in. I still think about my grandmother’s skillet every time I pull this cobbler out of the oven, and I hope it becomes one of those recipes for you too.
Give it a try this weekend, and if you end up with a happy accident of your own along the way, I’d love to hear about it. That’s how the best family recipes get even better.
Printable Recipe Card
Want just the essential recipe details without scrolling through the article? Get our printable recipe card with just the ingredients and instructions.


