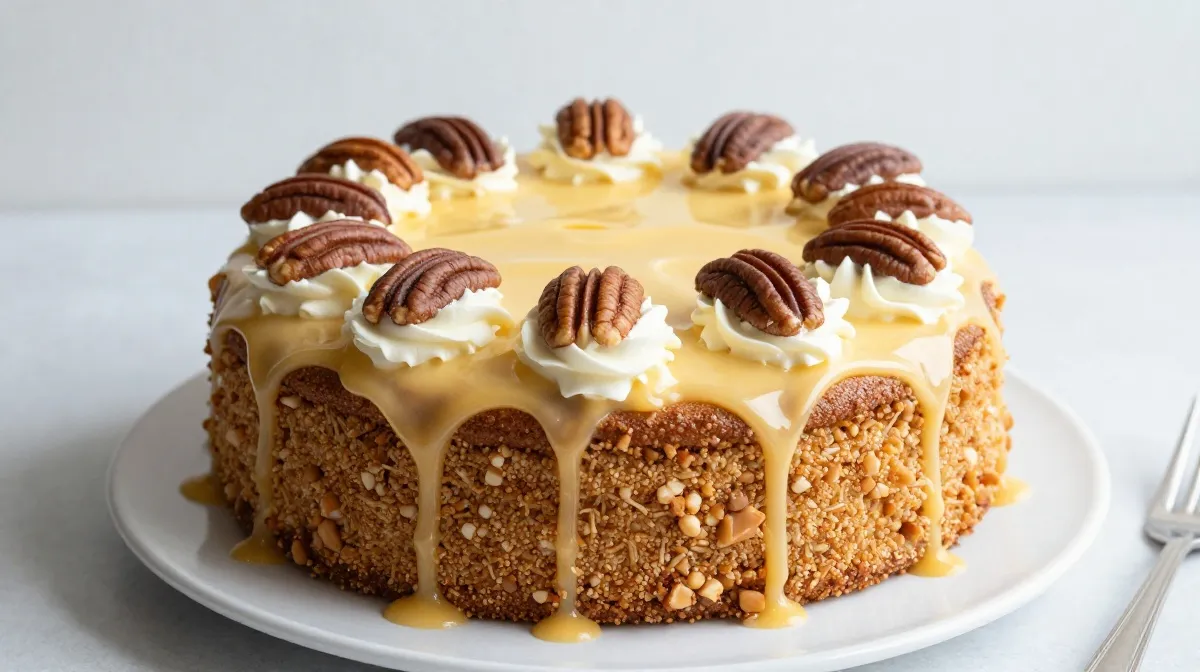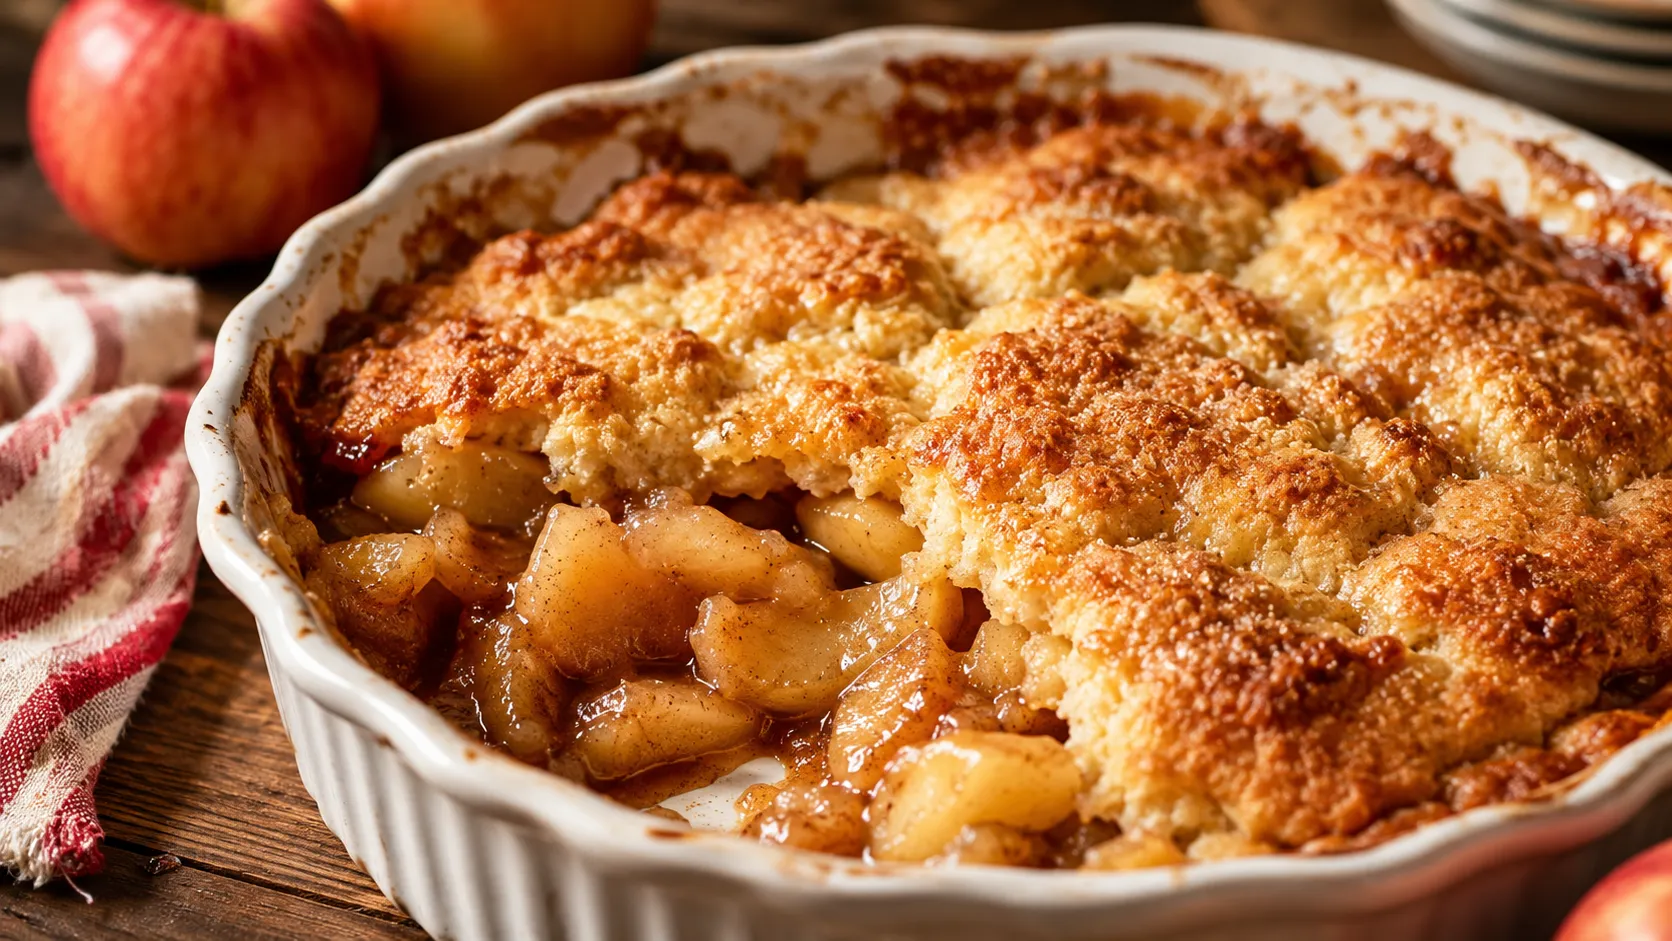
Apple Crisp Cheesecake with Oat Crumble
I burned my first apple crisp cheesecake. Not “a little too dark around the edges” burned — I mean I set off the smoke alarm and had to open every window in my apartment in the middle of October, standing there in a hoodie while my downstairs neighbor texted to ask if everything was okay.
Here’s what happened: I got impatient. I cranked the oven up thinking I could rush a water bath, skipped it entirely, and walked away to answer a phone call I definitely didn’t need to take. Twenty minutes later, my kitchen smelled like a campfire, and my cheesecake looked like a hockey puck with cinnamon freckles.
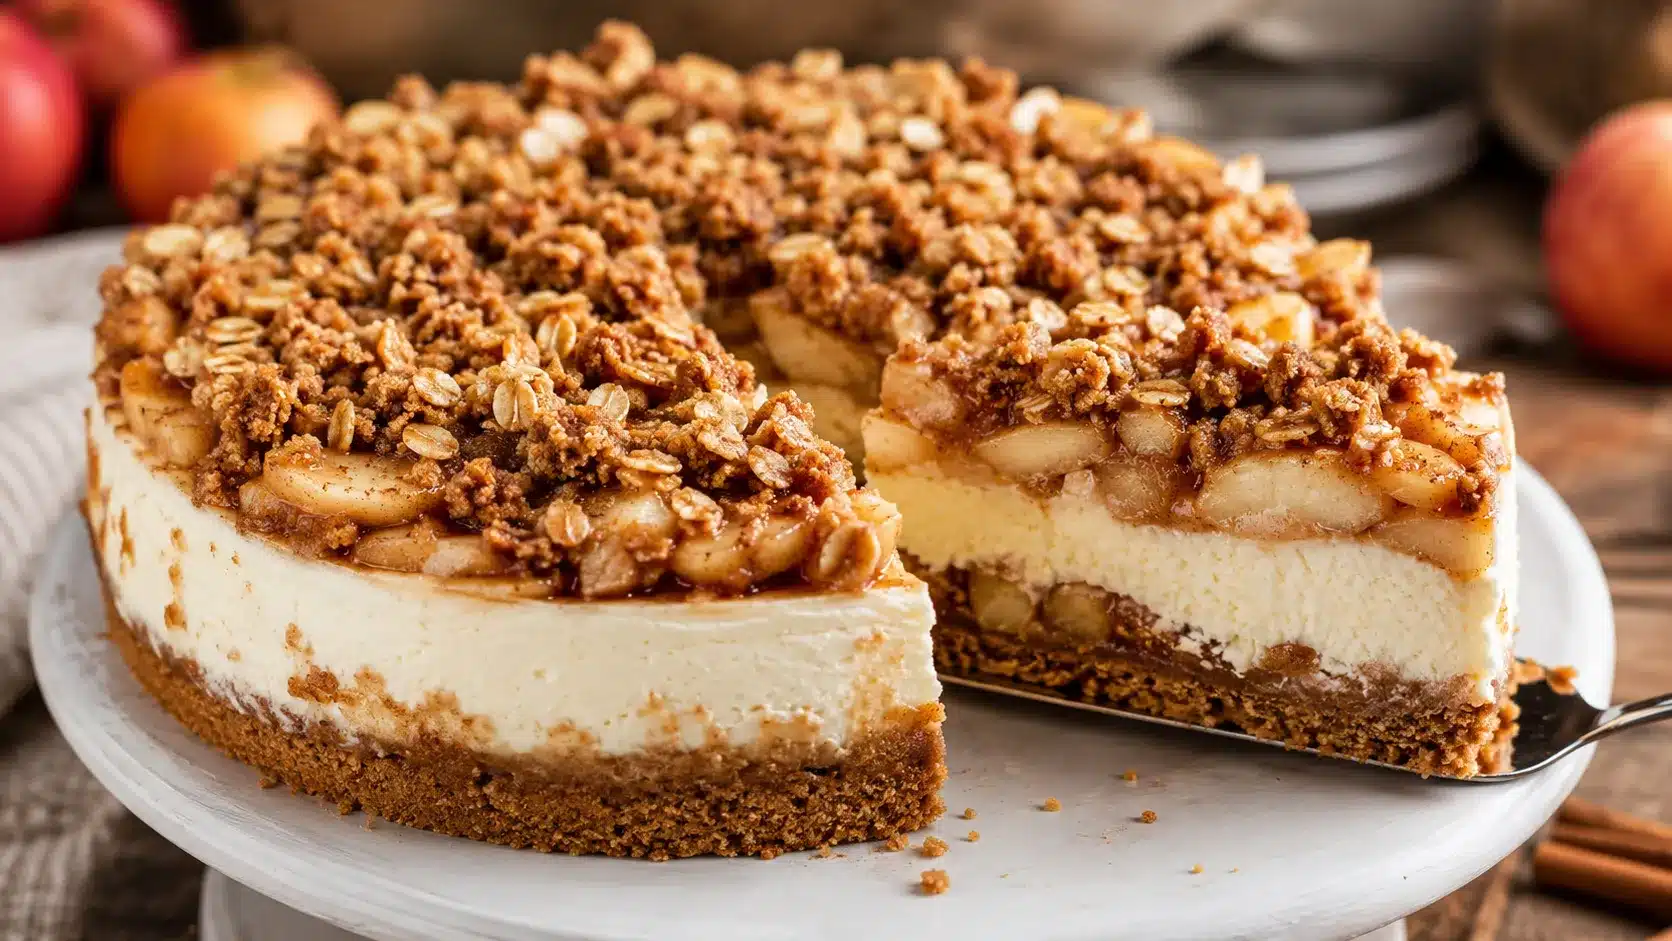
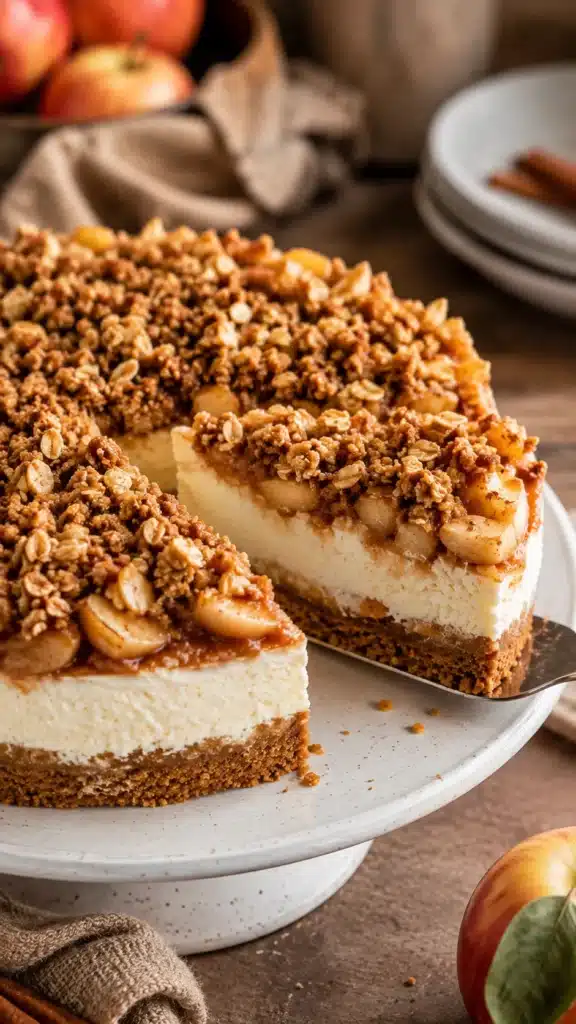
I tell you this because I want you to know I’ve made every mistake in this recipe already, so you don’t have to. This apple crisp cheesecake — a real cheesecake, dense and tangy, hiding a layer of soft cinnamon apples, crowned with a buttery oat crumble that gets genuinely crunchy — is now the dessert my family requests every single Thanksgiving. My mother-in-law, who does not hand out compliments easily, asked for the recipe. That’s how I know it’s a keeper.
It took me four tries to get the texture right. This version is the one I actually trust.
Why You’ll Love This Recipe
- It’s two desserts in one. You get the tang and creaminess of classic cheesecake plus the warm, spiced comfort of apple crisp, so nobody has to choose between them at the dessert table.
- The oat crumble topping is shockingly easy. No pastry skills required — just rub cold butter into oats and flour with your fingers until it looks like wet sand.
- It makes ahead beautifully. Cheesecake genuinely tastes better the next day, so this is one dessert you can finish 24 hours before you need it and just relax.
- It’s a crowd-pleaser for a reason. I’ve served this at potlucks, birthdays, and Friendsgiving, and it disappears faster than plain apple pie or plain cheesecake every single time.
- Fall flavor without pumpkin fatigue. If you’re tired of pumpkin everything by mid-October (I feel you), this scratches the same cozy itch with apples instead.
Ingredients You’ll Need
For the Crust
- 1 ½ cups graham cracker crumbs (about 10-11 full sheets, crushed)
- 5 tablespoons unsalted butter, melted
- 2 tablespoons granulated sugar
- Pinch of salt
Substitution tip: Digestive biscuits work great if you’re outside the U.S. and can’t find graham crackers. Gingersnap cookies are also fantastic here if you want extra spice.
For the Cinnamon Apple Layer
- 2 medium apples (I like Honeycrisp or Granny Smith), peeled and diced small
- 2 tablespoons unsalted butter
- 3 tablespoons brown sugar, packed
- 1 teaspoon ground cinnamon
- ¼ teaspoon ground nutmeg
- 1 teaspoon lemon juice
- 1 tablespoon all-purpose flour (to thicken)
For the Cheesecake Filling
- 24 oz (three 8 oz blocks) full-fat cream cheese, softened to room temperature
- ¾ cup granulated sugar
- 3 large eggs, room temperature
- 1 cup sour cream, room temperature
- 1 teaspoon vanilla extract
- 2 tablespoons all-purpose flour
- ½ teaspoon ground cinnamon
For the Oat Crumble Topping
- ½ cup old-fashioned rolled oats (not instant — they turn mushy)
- ½ cup all-purpose flour
- ⅓ cup brown sugar, packed
- ½ teaspoon cinnamon
- 6 tablespoons cold unsalted butter, cubed
- Pinch of salt
Substitution tip: Swap the all-purpose flour for a 1:1 gluten-free flour blend if needed — I’ve tested this, and the crumble holds together just fine.
Step-by-Step Instructions
- Prep your pan and preheat the oven (5 minutes). Preheat your oven to 325°F (163°C). Grease a 9-inch springform pan and wrap the outside bottom with two layers of heavy-duty aluminum foil. This foil step matters — it keeps water from sneaking in during the water bath.
- Make the crust (10 minutes). Mix the graham cracker crumbs, melted butter, sugar, and salt in a bowl until it looks like damp sand. Press it firmly into the bottom of your springform pan using the flat bottom of a measuring cup. Bake for 8-10 minutes until just set, then let it cool while you work on everything else.
- Cook the apples (8 minutes). Melt the butter in a skillet over medium heat. Add the diced apples, brown sugar, cinnamon, nutmeg, and lemon juice. Cook, stirring occasionally, for about 6-7 minutes until the apples soften slightly but still hold their shape — you don’t want mush. Sprinkle in the flour, stir to coat, and cook one more minute until the mixture thickens slightly. Set aside to cool completely. This part is important — hot apples will melt your cheesecake batter into soup.
- Make the crumble topping (5 minutes). In a bowl, combine oats, flour, brown sugar, cinnamon, and salt. Add the cold cubed butter and use your fingers (or a pastry cutter) to work it into the dry ingredients until it forms clumps about pea-sized. Pop it in the fridge while you make the filling — cold crumble bakes up crispier.
- Make the cheesecake batter (10 minutes). Using a stand mixer or hand mixer, beat the softened cream cheese and sugar on medium speed until completely smooth and lump-free — about 2-3 minutes. Scrape down the bowl. Add eggs one at a time, mixing on low speed just until each is incorporated. Overbeating here adds too much air, and that’s what causes cracks later. Mix in the sour cream, vanilla, flour, and cinnamon on low speed until just combined.
- Assemble the cheesecake (5 minutes). Pour about two-thirds of the cheesecake batter over the cooled crust. Spoon the cooled apple mixture evenly over the batter, leaving a little space from the edges. Pour the remaining batter on top, gently smoothing it out. Sprinkle the chilled oat crumble evenly over the entire surface.
- Bake in a water bath (70-80 minutes). Place the springform pan into a larger roasting pan. Pour hot water into the roasting pan until it reaches about 1 inch up the side of the springform pan. Bake for 70-80 minutes, until the edges are set, but the center still has a slight jiggle, like Jell-O that hasn’t fully firmed up. The crumble should look golden brown on top.
- Cool slowly (1 hour, then overnight). Turn off the oven, crack the door open, and let the cheesecake sit inside for about an hour. This slow cooldown is the single biggest trick for avoiding cracks. Then remove it, let it come to room temperature on the counter, and refrigerate uncovered for at least 6 hours, ideally overnight.
Pro Tips & Tricks
- Room temperature ingredients are non-negotiable. Cold cream cheese and eggs cause a lumpy batter no amount of mixing can fully fix. Set everything out at least an hour before you start.
- Don’t skip the water bath, even though it feels fussy. It’s the difference between a creamy, dense cheesecake and one that’s dry and cracked on top (ask me how I know).
- A butter knife trick I discovered by accident: run a thin knife around the edge of the pan the moment it comes out of the oven, before it even starts cooling. It releases the cheesecake from the sides so it doesn’t tear as it contracts.
- Make it a day ahead. Seriously, this cheesecake is better on day two once the flavors settle and the texture fully sets. It’s one less thing to worry about on the day you’re serving it.
- Use a hot, dry knife for clean slices. Run your knife under hot water, dry it off, then slice. Repeat between cuts for that bakery-style clean edge.
Variations & Substitutions
If you want a caramel apple version, drizzle warm caramel sauce over the crumble right before serving — it soaks slightly into the topping and adds a gooey contrast that people go nuts for.
For a nutty crumble, toss ¼ cup of chopped pecans or walnuts into the oat topping before baking. It adds crunch and makes the whole thing feel a little more like a proper apple crisp.
If you’re baking for someone gluten-free, swap the graham crackers for gluten-free graham crackers and use a 1:1 gluten-free flour blend in both the apple layer and the crumble. I’ve made this swap for a friend with celiac disease, and honestly, nobody at the table could tell the difference.
Serving Suggestions
This cheesecake wants a little something cold and creamy alongside it — a scoop of vanilla ice cream or a dollop of lightly sweetened whipped cream is perfect. A drizzle of warm caramel sauce over the top never hurts either.
It’s the dessert I bring to Thanksgiving, Friendsgiving, and honestly any fall potluck where I want to show up with something that isn’t just another pumpkin pie. It also pairs beautifully with a cup of coffee or a chai latte if you’re serving it for a cozy afternoon gathering rather than a big holiday spread.
FAQs
How long does apple crisp cheesecake keep in the fridge?
Stored covered in the fridge, it stays fresh for up to 5 days. The crumble softens slightly over time but still tastes great.
Can I freeze this cheesecake?
Yes. Freeze the cheesecake without the crumble topping for up to 2 months, wrapped tightly in plastic wrap and foil. Thaw overnight in the fridge, then bake the crumble separately and add it fresh, or freeze the whole thing and accept a slightly softer topping.
Why did my cheesecake crack?
Cracks usually come from overbeating the batter, baking without a water bath, or cooling too quickly. Follow the slow-cooldown step in this recipe, and you should be in good shape.
Can I make this ahead of time for a party?
Absolutely — this is actually a make-ahead dessert by design. Bake it up to 2 days before your event, then refrigerate until you’re ready to serve.
What apples work best for this recipe?
Honeycrisp gives a nice balance of sweet and tart while holding its shape. Granny Smith works well if you prefer more tartness. Avoid softer apples like Red Delicious — they turn mushy when cooked.
My cheesecake filling looks lumpy. What went wrong?
This almost always happens when the cream cheese wasn’t fully softened before mixing. Let it sit out for a full hour next time, and make sure to scrape down the sides of the bowl as you mix.
Read More Recipes:
- Easy Pumpkin Fudge with White Chocolate
- Easy Pumpkin Spice Latte Cake Recipe
- Pumpkin Cream Cheese Swirl Bread
- Soft Pumpkin Chocolate Chip Muffins
- Brown Butter Pumpkin Snickerdoodle Cookies
Final Thoughts
If you make one fall dessert this year, let it be this one. It takes a little patience — a water bath, a slow cooldown, some waiting overnight — but none of it is hard, and every bit of it pays off in the first bite.
I’d love to hear how yours turns out. Drop a comment below if you try it, and let me know if the caramel drizzle made it onto your plate too.
Printable Recipe Card
Want just the essential recipe details without scrolling through the article? Get our printable recipe card with just the ingredients and instructions.