
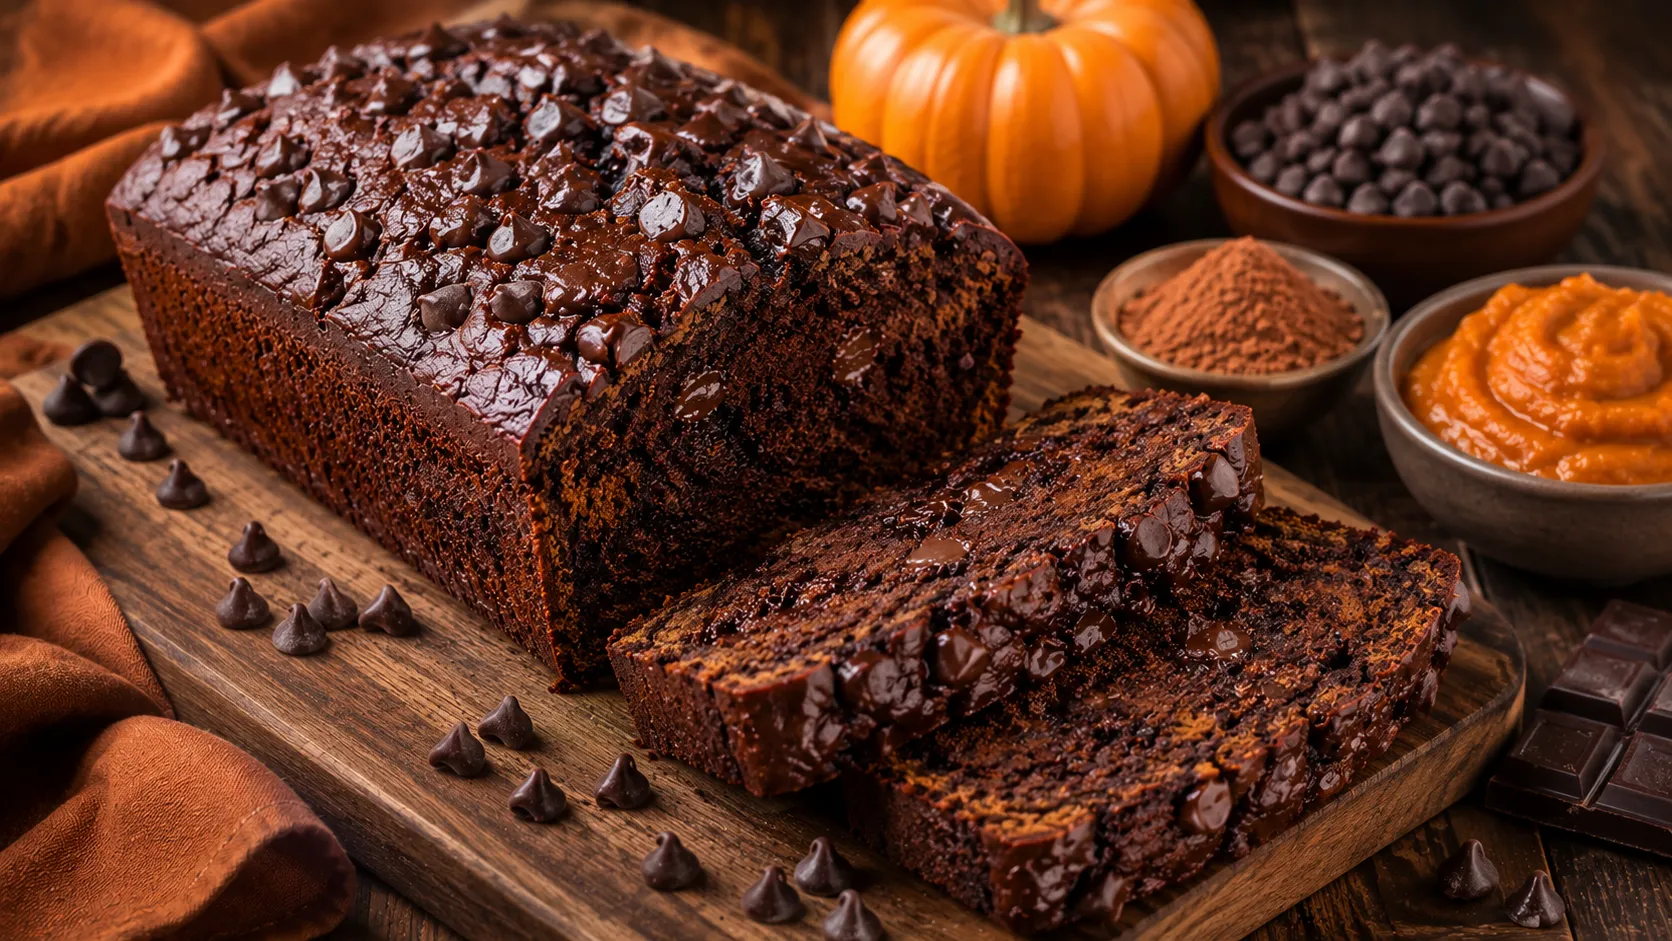
Double Chocolate Pumpkin Bread
I burned my first attempt at this bread so badly that my smoke detector introduced itself to my entire apartment building. I’d gotten distracted reorganizing my spice cabinet, completely forgot about the loaf in the oven, and came back to something that looked more like a hockey puck than a dessert.
I almost gave up on the idea entirely. But the smell that lingered in my kitchen afterward — rich chocolate mixed with warm pumpkin spice — stuck with me for days. I knew there was something worth chasing there.
A week later, timer set and phone in hand this time, I nailed it. Double chocolate pumpkin bread turned out to be everything I hoped: deeply chocolatey, moist in that specific pumpkin-bread way, with little pockets of melted chocolate chips throughout. It’s basically a brownie and a pumpkin loaf that fell in love.
Why You’ll Love This Recipe
- It tastes like dessert but works as a breakfast bread, which honestly feels like winning at life.
- One bowl, no mixer required — just a whisk and a spatula.
- Budget-friendly ingredients you likely already have in your pantry.
- Deeply chocolatey without being overly sweet, thanks to the pumpkin balancing things out.
- Freezes and reheats beautifully, so it’s an easy make-ahead treat for busy weeks.

Ingredients You’ll Need
For the Batter
- 1 3/4 cups all-purpose flour
- 1/2 cup unsweetened cocoa powder (Dutch-process gives a deeper, darker flavor, but natural cocoa powder works fine too)
- 1 teaspoon baking soda
- 1/2 teaspoon baking powder
- 1/2 teaspoon salt
- 1 teaspoon ground cinnamon
- 1/2 teaspoon ground ginger (optional, but it adds a nice warm edge)
- 1 cup canned pumpkin puree (plain, not pumpkin pie filling)
- 1 cup granulated sugar
- 1/2 cup packed brown sugar
- 1/2 cup vegetable oil or melted unsalted butter
- 2 large eggs, room temperature
- 1/3 cup buttermilk (or regular milk with a splash of lemon juice stirred in)
- 1 teaspoon vanilla extract
- 1 1/2 cups semisweet or dark chocolate chips, divided
Optional Topping
- 2 tablespoons extra chocolate chips, for sprinkling on top before baking
- Flaky sea salt, for finishing
Step-by-Step Instructions
- Preheat your oven to 350°F (175°C). Grease a 9×5-inch loaf pan well, or line it with parchment paper leaving an overhang on the sides — this makes lifting the finished loaf out so much easier.
- Whisk your dry ingredients (3 minutes). In a medium bowl, whisk together the flour, cocoa powder, baking soda, baking powder, salt, cinnamon, and ginger. The mixture should look uniformly brown with no streaks of cocoa left.
- Mix your wet ingredients (5 minutes). In a large bowl, whisk together the pumpkin puree, granulated sugar, and brown sugar until smooth. Whisk in the oil, then add the eggs one at a time, mixing well after each addition. Stir in the buttermilk and vanilla.
- Combine (2 minutes). Add the dry ingredients to the wet ingredients and fold together with a spatula just until no dry streaks remain. The batter will be thick — almost like a brownie batter, which is exactly what you want.
- Fold in the chocolate chips (1 minute). Reserve about 2 tablespoons of chocolate chips for the top, then fold the rest into the batter gently, just until distributed.
- Pour and top (2 minutes). Pour the batter into your prepared loaf pan and smooth the top with a spatula. Sprinkle the reserved chocolate chips over the top, and finish with a small pinch of flaky sea salt if you’re using it.
- Bake (55 to 65 minutes). This is the step I learned the hard way — set a timer, and don’t wander off. Bake until a toothpick inserted into the center comes out mostly clean, with maybe a few melted chocolate streaks (that’s fine; that’s not raw batter). The top should look set and slightly cracked, similar to a brownie top.
- Cool in the pan (15 minutes), then transfer to a wire rack. Let it cool for at least 30 more minutes on the rack before slicing. I know the smell makes this nearly impossible, but slicing too early means the center collapses.
- Slice and serve. Cut into thick slices and serve as is, or with a smear of butter while it’s still slightly warm.
Pro Tips & Tricks
- Set an actual timer, not a mental note. I say this from experience. Chocolate baked goods can go from perfectly done to overdone fast because the dark color makes it hard to judge visually.
- Room temperature eggs matter more here than in a lot of recipes, since the batter is already thick from the cocoa powder. Cold eggs make it seize up slightly and mix unevenly.
- Toss your chocolate chips in a spoonful of flour before folding them in. This keeps them from sinking straight to the bottom of the loaf — a trick I picked up completely by accident after wondering why all my chips ended up in one dense layer.
- Store at room temperature for up to 4 days, tightly wrapped, or in the fridge for up to a week if it’s warm in your kitchen.
- Let the loaf cool completely before wrapping it for storage. Wrapping it warm traps steam and makes the top go soft and slightly soggy instead of staying nicely set.
Variations & Substitutions
If you want an extra fudgy version, swap half the chocolate chips for chopped dark chocolate bars instead. The uneven melted pockets make each slice feel a little more decadent.
For a dairy-free option, use a plant-based milk with a splash of vinegar in place of the buttermilk, and check that your chocolate chips are dairy-free (many dark chocolate chips already are).
If you’re craving something spicier and more autumnal, add 1/4 teaspoon of ground cloves and a pinch of cayenne pepper. It sounds unusual, but the tiny kick of heat makes the chocolate flavor taste even richer, almost like a Mexican hot chocolate.
Serving Suggestions
This bread is rich enough to stand completely on its own with a cup of coffee, but it also makes a great dessert warmed slightly with a scoop of vanilla ice cream melting on top.
It fits right in on a fall dessert table next to other pumpkin treats, but honestly, I make it year-round because nobody turns down chocolate pumpkin bread in July either. It also travels well, so it’s a solid choice for potlucks, bake sales, or dropping off at a friend’s house just because.
FAQs
How do I store double chocolate pumpkin bread?
Wrap it tightly in plastic wrap or store in an airtight container at room temperature for up to 4 days. If your kitchen tends to run warm, keep it in the fridge instead, where it’ll stay good for about a week.
Can I freeze this bread?
Yes, and it freezes really well. Let the loaf cool completely, then wrap it tightly in plastic wrap followed by a layer of foil, and freeze for up to 3 months. Thaw at room temperature for a few hours before slicing.
Can I make this ahead of time?
You can bake it a day or two in advance — the flavor actually deepens a bit as it sits. Just keep it tightly wrapped at room temperature until you’re ready to serve.
Why did my bread sink in the middle?
This usually means it needed a little more time in the oven, or the oven door was opened too early during baking, letting heat escape before the structure had set. Always check with a toothpick before pulling it out, and try to resist opening the oven door before the 45-minute mark.
Can I use fresh pumpkin instead of canned?
You can, as long as it’s well-drained. Fresh pumpkin puree holds more moisture than canned, and too much extra liquid can make the loaf dense or gummy in the center.
Is this bread very sweet, like a dessert?
It sits right in between — sweet enough to feel like a treat, but not overly sugary, since the pumpkin and cocoa balance things out. If you want it sweeter, you can add an extra 1/4 cup of sugar or a light glaze on top.
Read More Recipes:
- Mini Pumpkin Bread with Cinnamon Swirl
- Warm Apple Cinnamon Roll Casserole
- Easy Apple Bread Pudding with Caramel Sauce
- Apple Crumb Cake with Cinnamon Drizzle Recipe
- No-Bake Apple Butter Cheesecake
Final Thoughts
This double chocolate pumpkin bread has earned a permanent spot in my baking rotation, burnt first attempt and all. There’s something satisfying about turning a kitchen disaster into the recipe everyone asks for now.
If you bake a loaf, I’d love to hear how it goes. Did the chocolate chips stay put or sink to the bottom? Did you sneak a slice before it finished cooling? Drop a comment and let me know — and don’t forget to set that timer.
Printable Recipe Card
Want just the essential recipe details without scrolling through the article? Get our printable recipe card with just the ingredients and instructions.


