
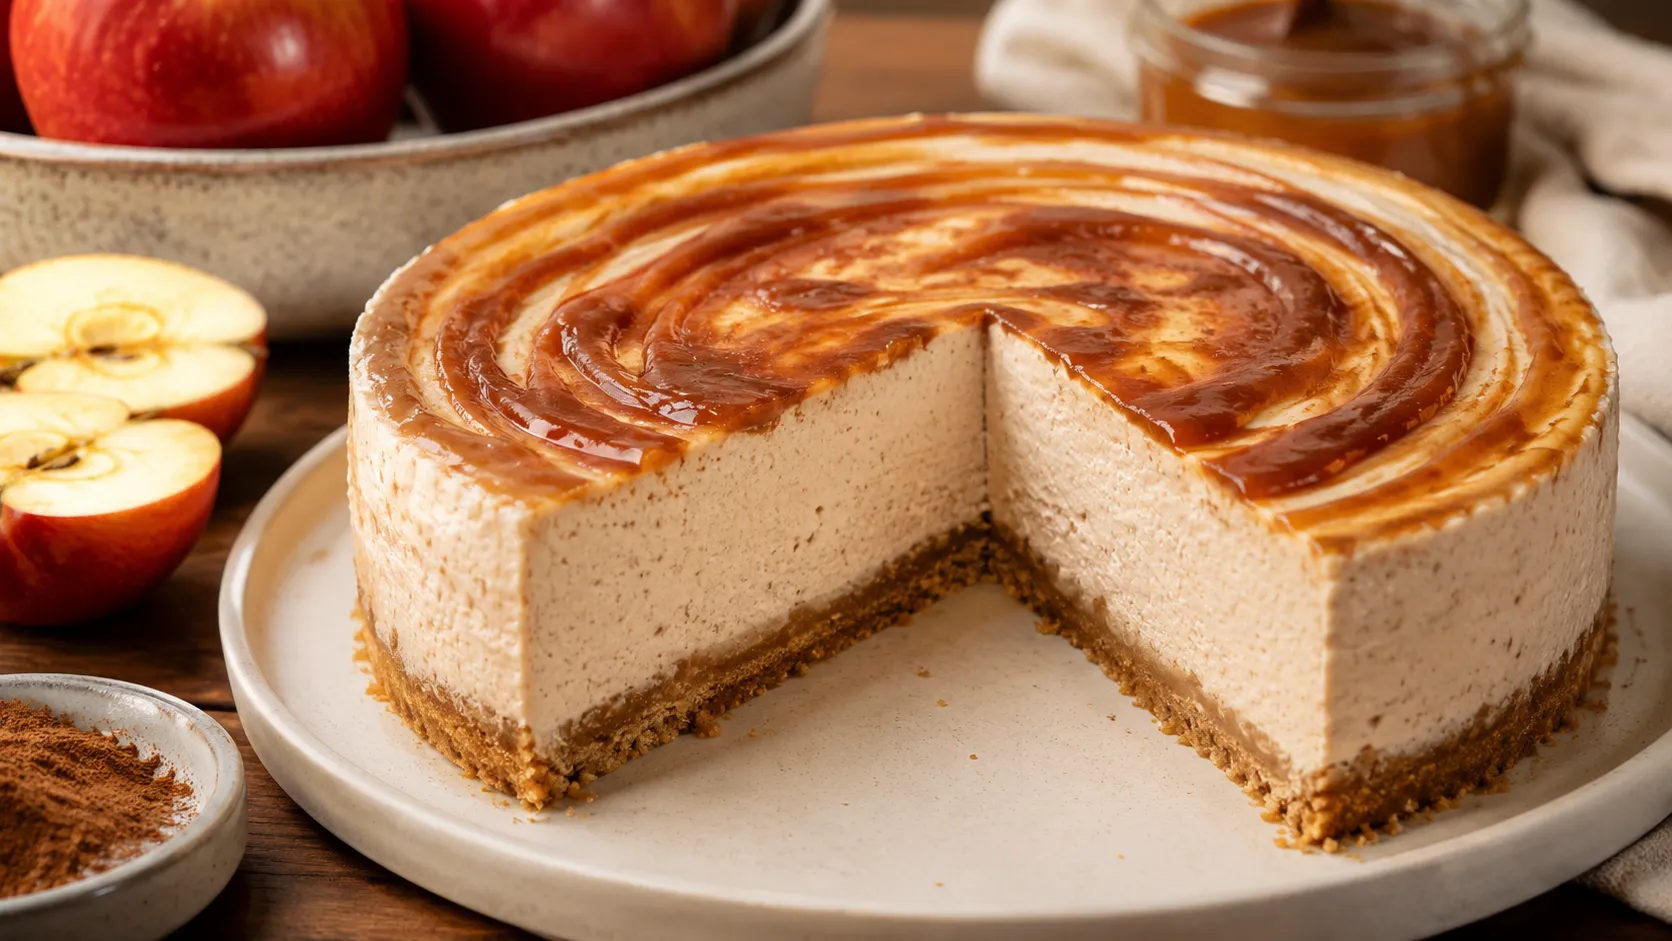
No-Bake Apple Butter Cheesecake (No Oven, No Stress, All Fall Flavor)
The first time I made this No-Bake Apple Butter Cheesecake, it wasn’t even supposed to be a real recipe. I had half a jar of apple butter sitting in my fridge door, leftover from a farmers market haul, and I was staring at it thinking “this is either going on toast or it’s going into something bigger.”
It went into something bigger.
I folded a few spoonfuls into a basic no-bake cheesecake filling I’d made a hundred times before, chilled it overnight because I genuinely forgot about it, and the next morning my kitchen smelled like a candle store during the first week of October. My husband walked in, took one bite standing at the counter, and said: “Wait, why does this taste like a candle but in a good way?” That’s apple butter for you — warm, spiced, a little caramelized, like apple pie learned to relax.
Since then, this has become my go-to dessert the second the weather turns. No oven, no water bath, no cracked cheesecake anxiety. Just a food processor, a mixing bowl, and patience (the hardest ingredient, honestly).
Why You’ll Love This Recipe
- Zero oven time — perfect for hot days, small kitchens, or when your oven is already busy with the turkey.
- Make-ahead friendly — it actually needs to chill, so it’s basically begging you to prep it a day early.
- Only one bowl for the filling — less cleanup, more time to lick the spatula.
- Tastes like fall in a bite — cinnamon, nutmeg, and that deep, slow-cooked apple flavor without babysitting a stove.
- Beginner-proof — if you can use a hand mixer, you can make this cheesecake.

Ingredients
For the Crust
- 2 cups graham cracker crumbs (about 14 full graham cracker sheets, crushed)
- 6 tablespoons unsalted butter, melted
- 2 tablespoons brown sugar
- Pinch of salt
Substitution: No graham crackers? Crushed gingersnaps or digestive biscuits work beautifully here and actually lean into the spiced flavor even more.
For the Cheesecake Filling
- 16 oz (2 blocks) full-fat cream cheese, softened to room temperature
- 1 cup heavy whipping cream, cold
- 3/4 cup powdered sugar
- 3/4 cup apple butter (store-bought or homemade)
- 1 teaspoon vanilla extract
- 1/2 teaspoon ground cinnamon
- 1/4 teaspoon ground nutmeg
- Pinch of salt
Substitution: If you only have pumpkin butter or pear butter on hand, either one swaps in fine — the technique stays the same.
For the Topping (Optional but Recommended)
- 1/3 cup apple butter, for swirling or drizzling on top
- A few tablespoons crushed graham crackers or chopped pecans
- Whipped cream, for serving
Step-by-Step Instructions
- Make the crust (10 minutes). In a medium bowl, stir together the graham cracker crumbs, melted butter, brown sugar, and salt until the mixture looks like wet sand. Press it firmly into the bottom of a 9-inch springform pan, using the bottom of a measuring cup to pack it down tight and even. Pop it in the freezer while you make the filling — this helps it set up fast without baking.
- Whip the cream (3-4 minutes). In a separate bowl, using a stand mixer or hand mixer, whip the cold heavy cream on medium-high speed until stiff peaks form. You’ll know it’s ready when you lift the beaters and the cream holds its shape without drooping. Set this aside in the fridge; you’ll fold it in later.
- Beat the cream cheese (2-3 minutes). In your main mixing bowl, beat the softened cream cheese until it’s completely smooth with no lumps. This step matters more than people think — cold, lumpy cream cheese is the number one reason no-bake cheesecakes turn out grainy.
- Add the flavor (2 minutes): Add the powdered sugar, apple butter, vanilla, cinnamon, nutmeg, and salt to the cream cheese. Beat on medium speed until fully combined and the mixture turns a soft caramel color, scraping down the sides of the bowl as needed.
- Fold in the whipped cream (2-3 minutes). Using a rubber spatula, gently fold the whipped cream into the cream cheese mixture in three additions. Fold, don’t stir — you want to keep all that air in there so the filling stays light instead of dense. The mixture should look like thick, pillowy mousse when you’re done.
- Fill the crust (5 minutes): Pour the filling over your chilled crust and smooth the top with an offset spatula or the back of a spoon. Warm the extra 1/3 cup of apple butter for about 15 seconds in the microwave until it’s loose enough to drizzle, then swirl it over the top with a toothpick or skewer for that bakery-style marbled look.
- Chill (minimum 6 hours, best overnight): Cover the pan loosely with plastic wrap and refrigerate for at least 6 hours, though overnight gives you the cleanest slices. This is the step people rush, and it’s the one step you really can’t skip — the filling needs that time to firm up enough to hold a slice shape.
- Release and serve: Run a thin knife around the edge of the pan before unlatching the springform ring. Top with crushed graham crackers, chopped pecans, or a dollop of whipped cream right before serving.
Pro Tips & Tricks
- Room temperature cream cheese is non-negotiable. Cold cream cheese straight from the fridge will leave you with lumps no amount of mixing can fix. Give it a solid hour on the counter.
- Don’t overwhip the cream. The first time I made this, I got distracted and ended up with cream that was almost butter. Watch for stiff peaks and stop the second you see them.
- Use good apple butter. Thin, watery apple butter will make your filling loose. Look for a thick, spoonable jar — if yours seems runny, simmer it on the stove for a few minutes to reduce it, then cool completely before using.
- Freeze slices for cleaner cuts. If you want that perfect bakery-style slice, pop the whole cheesecake in the freezer for 30 minutes before cutting, and wipe your knife clean between each slice.
- Make it a day ahead. Honestly, this cheesecake tastes even better on day two once the flavors have had time to settle in.
Variations & Substitutions
If you want a gluten-free version, swap the graham crackers for gluten-free graham crackers or gluten-free ginger cookies — the crust behaves the same way.
For a lighter version, swap the heavy cream for a stabilized whipped topping like Cool Whip, and use reduced-fat cream cheese. It won’t be quite as rich, but it’s a solid lighter option for warmer months.
If you love a little heat, try a spiced-up version by adding a pinch of ground cloves and a tiny pinch of cayenne to the filling. It sounds strange, but it plays beautifully against the sweetness of the apple butter, almost like a chai-spiced cheesecake.
Serving Suggestions
This cheesecake is made for cool-weather gatherings — Thanksgiving, a fall potluck, or just a Sunday when you want the house to smell like cinnamon. Serve it alongside coffee or a warm chai latte for the coziest pairing.
It also holds its own next to something lighter, like a simple green salad with apples and walnuts, if you’re serving it as the finale to a heavier fall dinner.
FAQs
How long does no-bake apple butter cheesecake last in the fridge?
Stored covered in the fridge, it stays fresh for up to 5 days. The flavor actually deepens after the first day.
Can I freeze this cheesecake?
Yes. Freeze the whole cheesecake (without toppings) for up to 2 months, wrapped tightly in plastic wrap and foil. Thaw overnight in the fridge before serving.
Why is my filling not setting up firm enough?
This usually means the cream cheese wasn’t beaten smooth enough, the whipped cream wasn’t whipped to stiff peaks, or the cheesecake didn’t chill long enough. Give it more time in the fridge before panicking.
Can I make this ahead of time for a party?
Absolutely — this is actually a great make-ahead dessert. Make it up to 2 days before your event and add toppings right before serving.
Can I use homemade apple butter instead of store-bought?
Yes, and it’s honestly even better if you have the time to make your own. Just make sure it’s thick and fully cooled before mixing it in.
What can I use instead of a springform pan?
A regular 9-inch pie dish works fine — you just won’t be able to remove the sides, so you’ll serve it directly from the dish instead of unmolding it.
Read More Recipes:
- Cinnamon Apple Coffee Cake with Streusel
- Easy Apple Crisp Mini Cheesecakes
- Old-Fashioned Apple Cobbler with Buttery Topping
- Easy Caramel Apple Cheesecake Bars
- Moist Apple Fritter Bread with Cinnamon Glaze
Final Thoughts
This is one of those desserts that feels a little bit fancy without asking much of you at all. No oven, no fuss, just a fridge doing all the hard work while you go about your day.
If you end up making this one, I’d love to hear how it turns out for you — and if you get creative with the toppings, even better. Go grab that jar of apple butter out of your fridge door. It’s time.
Printable Recipe Card
Want just the essential recipe details without scrolling through the article? Get our printable recipe card with just the ingredients and instructions.


